In my apartment project, perhaps nothing was more important nor more problematic, than the installation of the doors.
Framing
I'm ashamed to confess that despite my years in architecture, the marriage of door to wall was always a little unclear to me. Some combination of components (frame, shim, jamb, jack stud, header) was forever obscured behind the trim. I educated myself with step-by-step youTube videos, yet couldn't find consistent information, especially when it comes sizing doors. There seems to be an art to framing a rough opening with just the right amount of adjustment space while avoiding the need for excessive shimming. Trying to follow the various online "standards" without fully understanding what I was doing resulted in disaster when I framed 2 doors too tight and one door too tall.
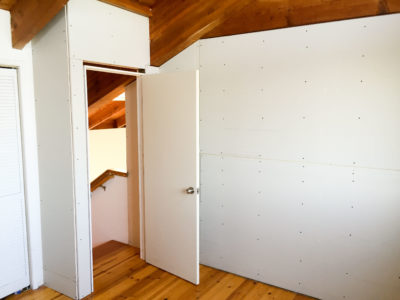
I wondered for a while the best (easiest & cheapest) way to make the small doors work. My options were to tear down the wall and re-frame it or to somehow make the door frame fit. My cringe inducing decision was to make the door frame fit by removing the strike side of the door frame itself. In architecture school we'd call this emergency model "surgery" (or hacking if low enough on sleep.) Even after this operation, one of the doors still barely used any shim. The strike plate and a new door jamb then got mounted directly to the jack stud.


My game plan here was to cover this abomination with joint compound. Mud fixes all right? To wrap the corner and protect the edge of the gyp board, I covered each end with corner bead, almost as if it were an opening in the wall without a frame. I had to notch the corner bead around the strike plate, which I later removed while mudding.
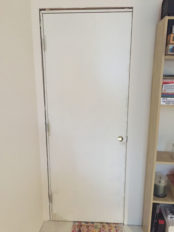
 I did a full 180 with the third door and framed the header too tall. Not an issue for putting in the door, but I'll have some reckoning to do when it's time to install the trim. What will I nail into?!?
Painting
 Before doing the trim, however, I thought I'd try to save myself some taping time by painting the various pieces of the door. At first I tried to paint the doors where they hung, but didn't get far. I've seen too many sloppy remodels where the hardware is simply painted over and knew I didn't want that, but trying to avoid them with the paintbrush was equally as problematic as taping them out, so I decided to stop trying to use shortcuts.
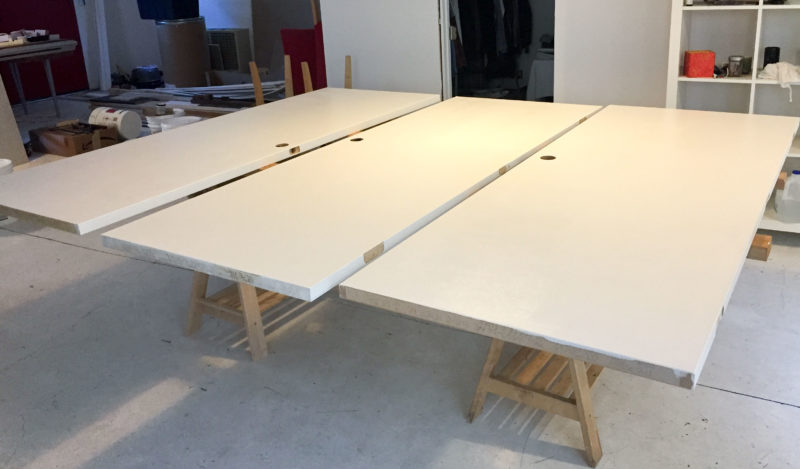
I had to take all three doors off their hinges, and remove the knob hardware. Then I set up a little paint station with 2 trestles and some 2x4s. Having the doors stationary and horizontal at an accessible height was absolutely the right call. Despite being pre-primed, with an off-white primer, it still took 2/3 coats to achieve an even color on. Perhaps smoother surfaces like doors show paint inconsistencies more so than drywall. I'm still not sure. Either way, it took more coats than I anticipated, so making the painting easier on myself was well worth the initial effort.
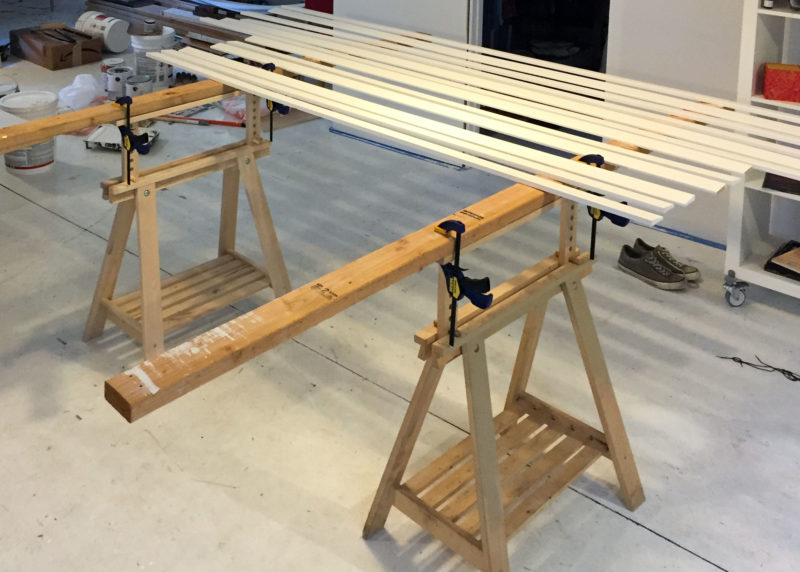
Hopefully pre-painting the trim will have an equally rewarding payoff. My setup with the saw horses was only useful for drying. I had to hold each piece against the press of the roller as I worked, and got paint all over my hands. Luckily these pieces took fewer coats than the doors, and hopefully wont need too much touch up. I know there will need to be a little paint afterwards to hide the nail holes, but hopefully that will be pretty minimal.
What a cliffhanger!