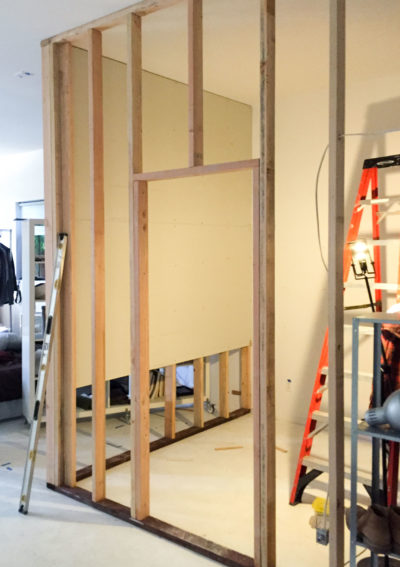
Day 1
Jump to Day 2or Day 3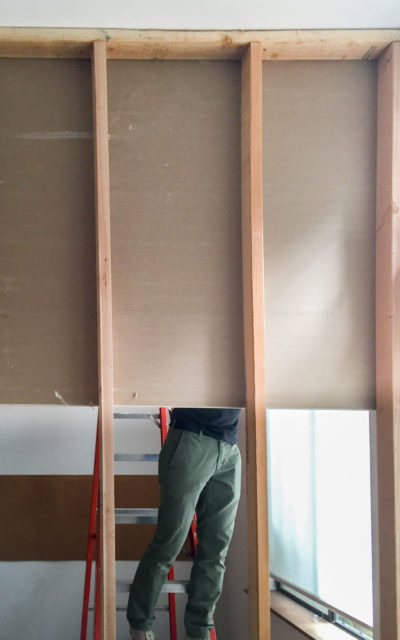 The next step in my ongoing home renovation project was hanging the drywall. While researching the process I found several "correct" methods. Weighing each option against the circumstances of the project, I decided on a top-down (instead of bottom-up) approach, using drywall screws (instead of nails.) Although it would have been less effort to start at the bottom and stack the drywall, I had 2 good reasons to start at the top:
- First, with a 10' ceiling and 4' sheets, I knew at some point we would need to cut one to fit, and finding the exact size would be easiest if we could hold it up and measure at ground level.
- Second, there were only two of us doing this and one ladder. One person would be up on the ladder while the other held up the sheet, and if the top piece didn't hang low enough, they wouldn't be able to reach it.
Starting from the top, we measured and hung the drywall piece by piece. At certain points, the studs bow quite substantially out of plumb with the wall (I blame HomeDepot.) So substantial was the bow that we had to shim out in order give the drywall something to bear against. I'm nervous for how much mud it will take to make this all look good...
At the end of day one, we were feeling pretty good. Room 1, interior had been completely sheathed. It is a slow, and laborious step for sure, but it definitely makes the rooms feel real.
Day 2
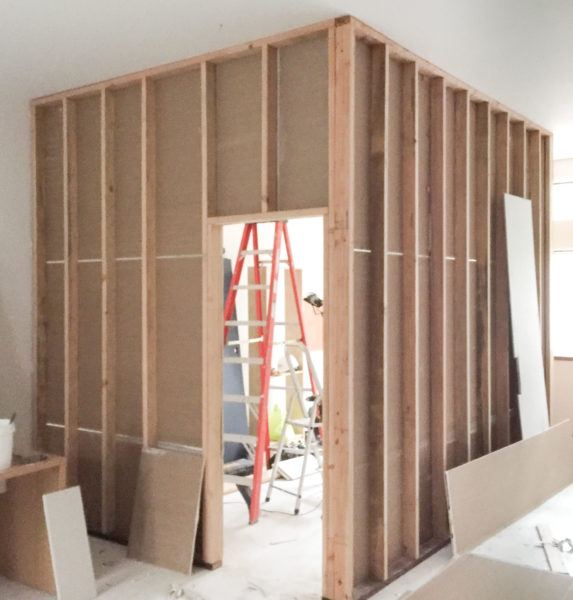
 We continued with the dry walling getting both sides of the door wall covered. The door walls are a bit annoying since they require so much cutting. To avoid cracking at the corners, we have to land the seam above the door at the halfway point rather then directly at the corner. The corner bit that hangs down into the opening then has to be cut away by tracing the framing with a drywall saw. The rest of the
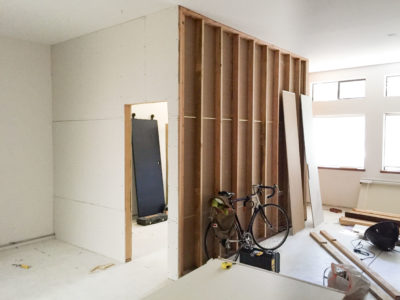
 It goes against my instincts to generate any waste material, so there's a steadily growing pile of scrap pieces in the corner. I'm always excited when there's an odd patch that one of these pieces will fit into. Thankfully typical 16"-on-center spacing of studs matches up exactly with a full sheet of drywall in both the 48" and 96" direction, so there's not too much scrap. I've definitely gained a new appreciation for building conventions, material sizing, and the underlying modular system that links the two together. I find it all quite elegant in fact.
Day 3
The actual process for hanging drywall is actually pretty straight-forward. The first step is cutting out the piece: First you measure out the size you need. Then transfer that measurement to a sheet of drywall. Score one face of the drywall along the line of cut. Stand up the drywall and hip check the back side of the score line to snap the drywall. Then cut along the back face of paper.
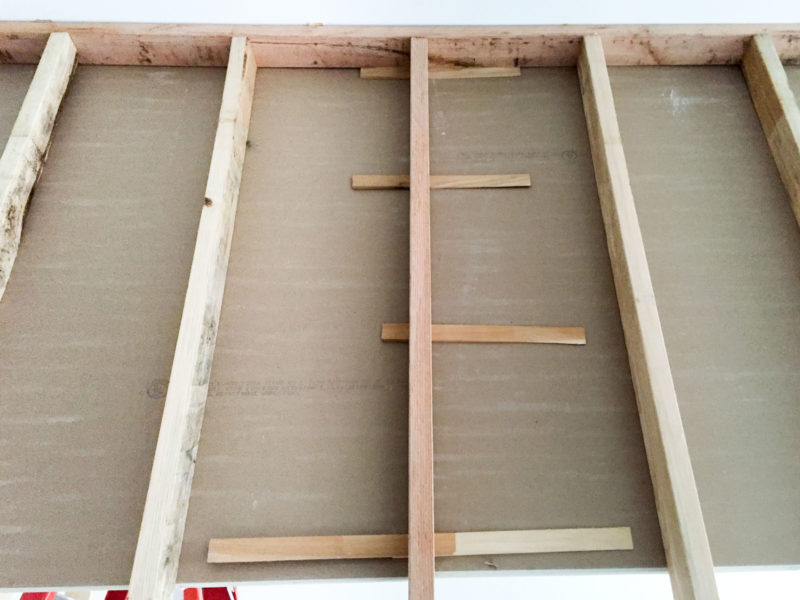
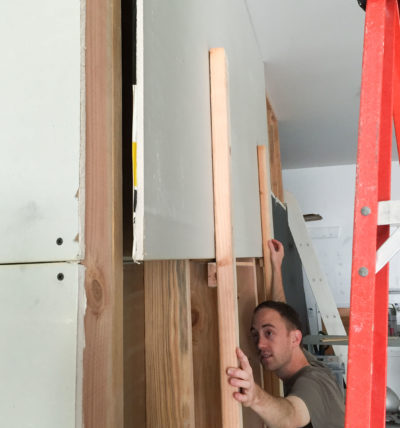 Things get tricky when it's actually time to hang the drywall. With only a 2-man operation, we needed a system that would require only one person to hold the very heavy drywall in place while the other screwed it in place. The solution I came up with was a pair of drywall "stilts": I attached blocking to two boards at just the right height to rest the drywall. Both of us would then hoist a single piece of drywall up to height, then rest it on the stilts. One of us would hold the stilts steady while the other adjusted the exact height with shims. Then, while the holder was holding the piece steady, the other could screw it into place. There was sometimes a small moment-of-truth when taking away the stilts, but thankfully, we always had enough screws in place by then to avoid it tearing out of place.
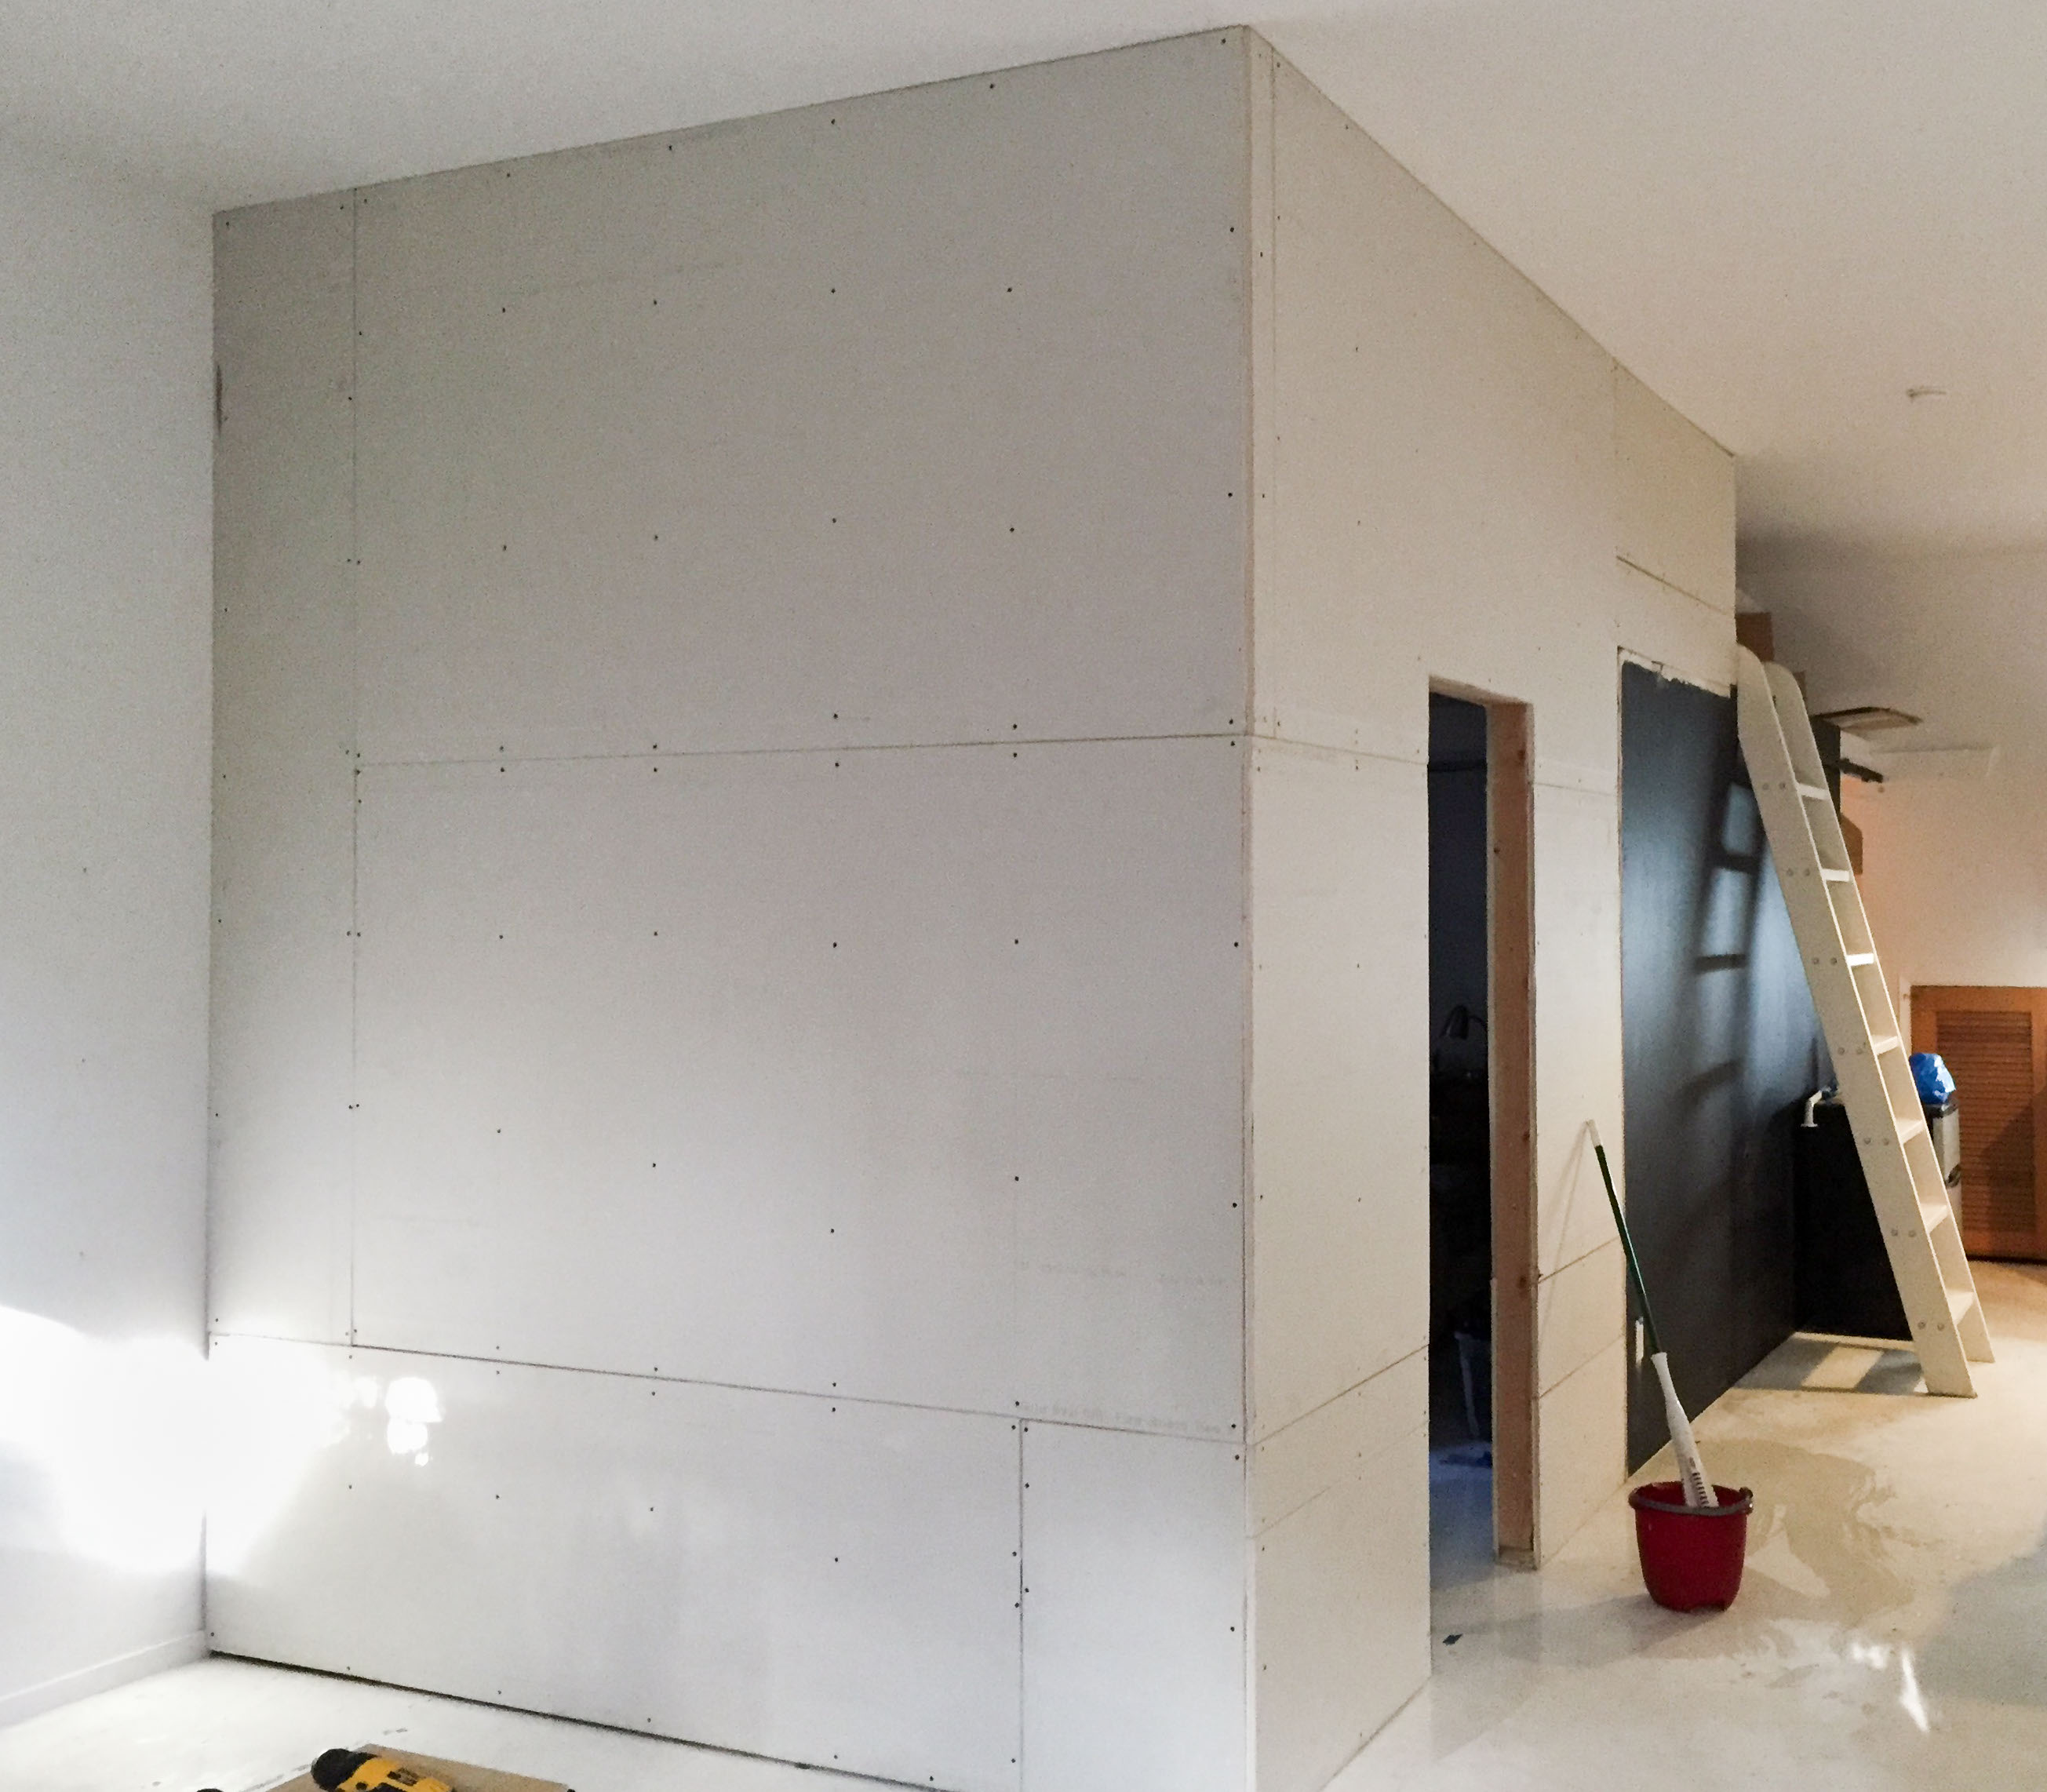
Although hanging drywall took a fair bit of effort, that effort was rewarded with a clear sign of progress. The walls have started to look quite real!
What – no pocket doors?