After building a SketchUp model of the existing space, which I'd used as the underlay for my schematic sketching, I needed to start modeling the design. When moving from sketch to hard-line, the design always adjusts in response to the tightening of dimensions. The model went through several iterations as a tool in different phases.
Schematic
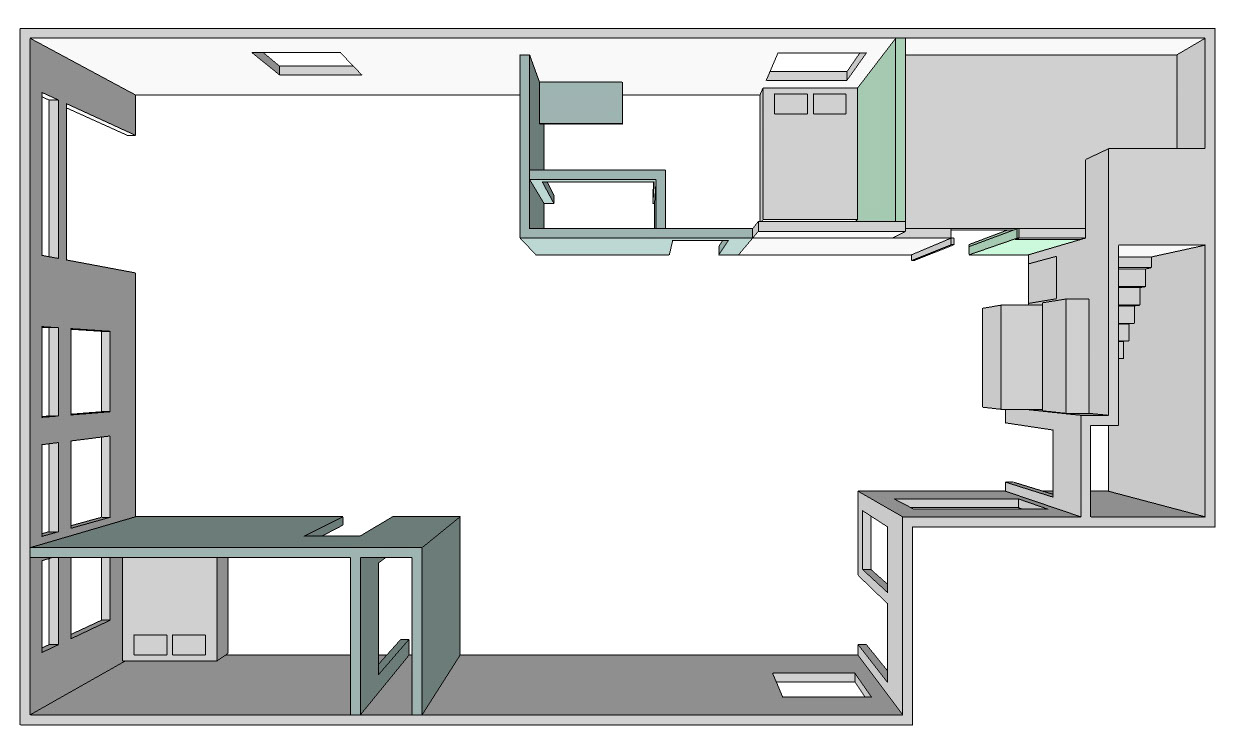
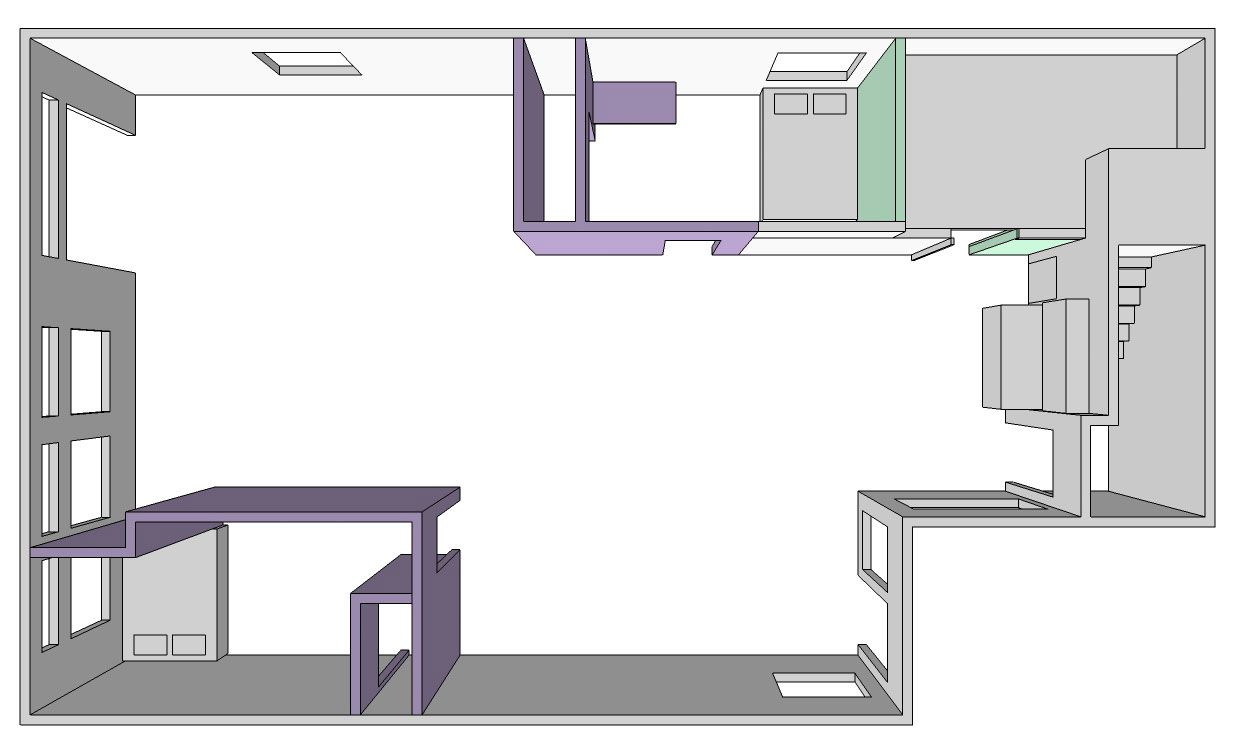
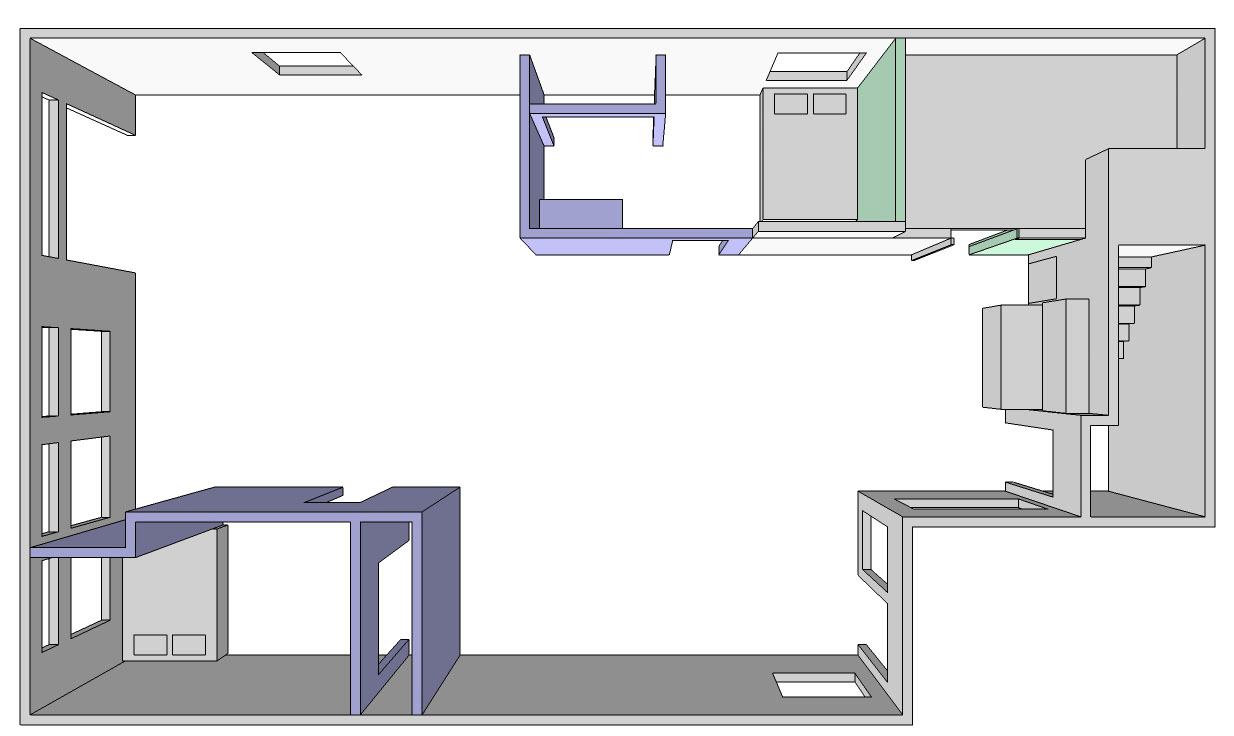
Although sketching had helped me lock in the general configuration of the 2 rooms, there were still some options for the arrangement of walls and doors in each. I modeled 3 of these options on different layers to see what would be the most efficient use of space. As before, the spacing of the windows in the lower left got in the way of a decently proportioned room. A desk-sized, jogged corner turned that challenge into an opportunity create a working niche in the public area. As I've lived without one for nearly a year now, I see the closets as a bit of a nuisance. They steal so much space from the rooms and will take a lot of material and effort. Those will be the first things to go if (when) we need to reduce the scope.
Construction:


It was time to start getting an estimate on materials. Since building construction tends to be somewhat standardized, there are rules of thumb that can be followed to estimate how many studs, drywall, etc. are needed per linear foot of wall, but that approach seemed to too vague. I wanted to see concretely what the structure would look like and count the studs individually, so I added framing within the walls. This also forced me to refresh my knowledge of how framing actually works for doors, corners, and other special conditions.
While this was a useful exercise for my own knowledge, it proved less useful for information. Actually modeling each individual stud is also very tedious, and we ended up changing the design again. I knew I'd need a more efficient method for estimating materials, so instead of full studs, I started just using tick-marks on top of the wall for the studs.
Final
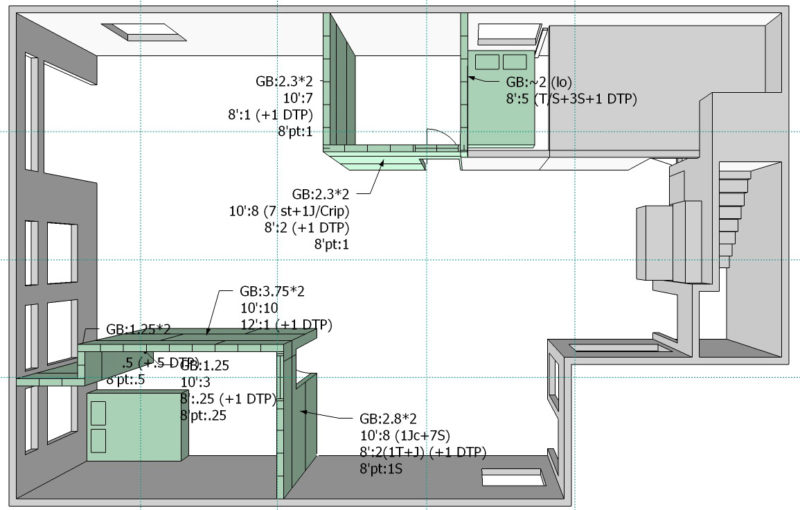
After engaging a rep from Home Depot for a quote on the materials, we realized the design was WAY over our budget, and it was time for the value engineering to kick in. As promised, the closets were the first thing to go, but we also scrapped any reconfiguration work in the laundry room/utility space. I also adjusted the wall dimensions to optimize drywall and framing sizes and minimize wasted material.
I had, by now started using SketchUp's call-out feature to keep track of how many pieces of material would be needed for each wall. I was also using a grid of guides to mark the location of each of the ceiling mounted outlets for light, so I could make sure the walls wouldn't interfere. This time the quote we got was much easier to account for in our budget, so I crossed my fingers and placed the order...