When laying out the steps for the build out project, "Mudding" was the step I was dreading the most. It's not terribly difficult, and certainly one of the least dangerous steps, but my goodness is it ever tedious! In an ideal scenario, the whole process still takes 3 days. In reality, it's taking us much longer because we can only mud so quickly.
Step 1
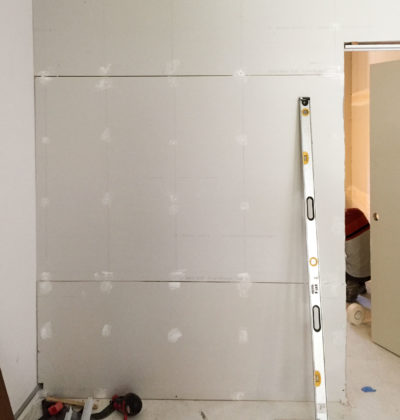
The first step in mudding is a fill coat over seams and holes. The "Mud" is drywall joint compound, and it's best purchased in bulk. As I learned, when mudding, you need more than you think. The second key ingredient is joint tape, which despite being labeled "tape" has no sticky side. There is such a thing as "self-adhering" drywall tape, but it is ten times the price and the construction forums I consulted declared this option difficult to work with. The tools consist of 2 sizes of drywall knifes: 6" and 10-12", a small paint scraper, a corner knife, a mudding trowel, and a bucket of water.
As the name implies, the "fill coat" of mud is meant to fill in the gaps. The easiest places to start are the dents made by each of the drywall screws. If they didn't sit just below the face of the drywall we'd drive them in a little farther. Using the paint scraper we filled each tiny crater then scraped away the excess. Quick and easy! Now just repeat about a million more times at each of the other screws.
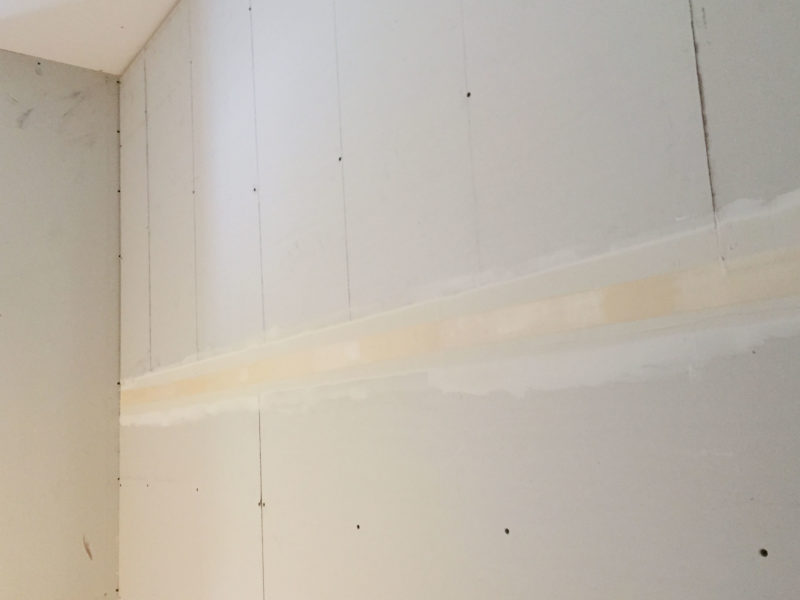
The real work of the fill coat is taping the seams. Working one seam at a time, we start by spreading about a 3 inch wide layer of mud along the joint. It didn't have to be pretty, but it did need to be spread wider than the tape in order to have full adherence. Then we cut the right length of drywall tape and run it through the bucket of water, wicking away the extra water. Then stick this tape to the mud and press it into the joint starting at the center. Lastly, take the drywall knife and press the tape tight to the wall. On any cut edge or vertical seam it's extra important to press the tape as tight as possible so the seam doesn't bump out. There's a divot along each of the factory edges that helps hide the tape below the surface. The divot doesn't need to be filled at this stage, it's all about covering that seam with the tape.
Step 2
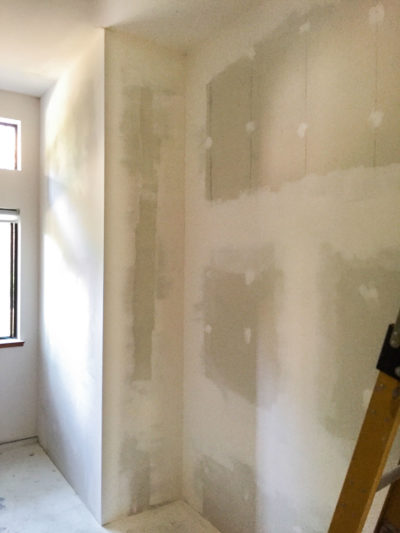 The next step is the "finish coat" of mud. This is key to filling any remaining voids. I've noticed that joint compound has a tendency to shrink as it dries, so we had to double check back over every screw hole for divots. Then, it's time to cover the seams. This is where it's extra important that the tape was put on as close to the drywall as possible. If it bumped out, then it will be a pain to sand back down PAST the paper in the next step.
The actual process for the finish coat is easy: Mud over the seam, then scrape it flush to the drywall with a 10 or 12 inch knife. Feather out along each edge to create a smooth final surface. The tricky part is keeping the knife clean enough to avoid streaking.
Step 3
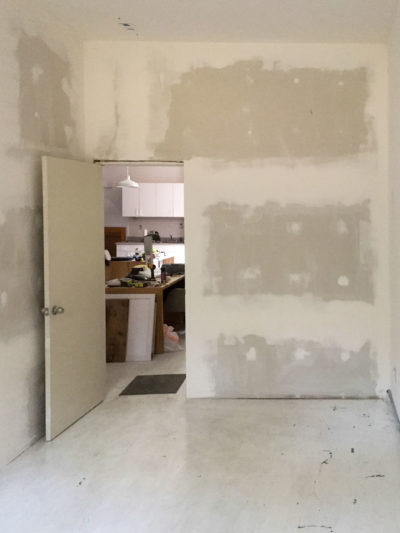 The final step is sanding it all smooth, an extremely dusty step, so moving out any furniture and getting a dusk mask is a good idea. I sanded with a painters knife in-hand so as to knock off any large chunks that had dried to the wall. After the sanding, the walls should be cleaned off with a damp (but not dripping!) sponge. The sponge I was using would actually get clogged up with all that dust, so it needed to be rinsed out regularly. The last step is giving the floors a thorough cleaning. I scraped off a number of mud drips that had dried to the floor, then swept up the large debris, and finally mopped. The room is finally ready for paint: so near the finish line!