The long awaited FINAL step in the construction was the trim. After spending what feels like an eternity on this project (though only 7 months) the trim installation was mercifully quick.
Door Tim
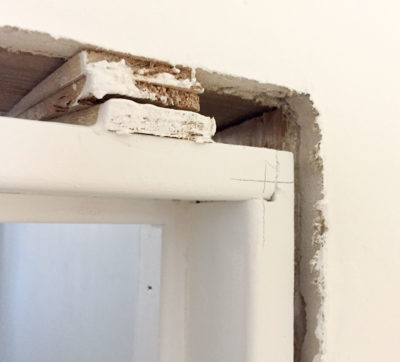 I was very excited to install the door trim after what was clearly a very amateur door hanging. I started by marking the corners with a quarter inch offset, which I used to mark each trim piece to the correct length. I wish I'd thought to use a white colored pencil, erasing or hiding these marks after the trim was installed was actually kind of a pain.
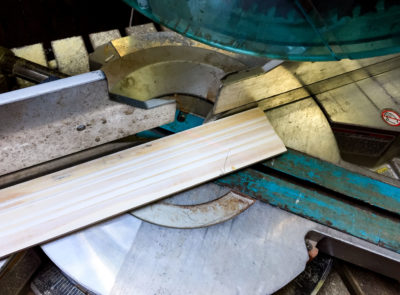 My saw seemed only able to rotate to 45 in one direction, so I was doing a lot of flipping and rotating of pieces to get the right angle. In that flipping it was a bit challenging to keep track of where the miter needed to go, and I learned the hard way to draw a line indicating the direction of the miter on the back side of the piece.
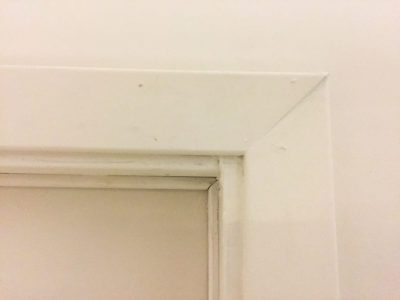 The attachment was wonderfully easy thanks to a borrowed nail gun and miniature compression tank. A few 1" brads along the length and it was installed in a snap! The brads left a hole in the carefully pre-painted surface, which means I'll have to go back and touch it up with some paintable caulk and paint. I think for the floor trim I'm going to paint it after install.
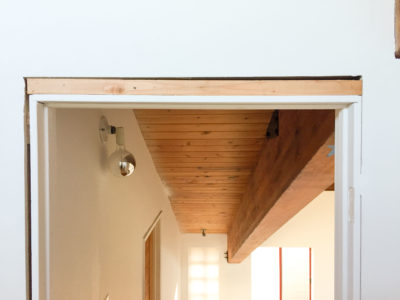 The upstairs door was a bit of a pain. Thanks to inexperienced framing skills, the opening was too tall for the trim to nail into the header. Luckily, the gap was enough to slide in a 2x piece of blocking. A few pops with the brad nailer from the underside of the door held this blocking in place.
After spending so many weeks on painting, it was refreshing to finally have something move quickly again. Installing both sides of trim on all three doors only took an afternoon once I got going!
Floor Tim
I decided to try a different sequence for the floor trim. While painting the door trim pre-install was super convenient, the installation left little nail holes which I realized would need to be touched up with more paint anyway. If there's one thing I can't stand, its redoing work I've already done, so I chose to wait and paint the floor trim after it was installed. This went just as quickly as the door trim. I started from one side, marking the needed cuts directly off the wall, cutting, then nailing in before measuring the next piece. For some reason I could only get the miter saw to cut a 45 degree in one direction, so there was a great deal of flipping, turning and aligning pieces for the mitered corners. More than once I cut the miter in the wrong direction.


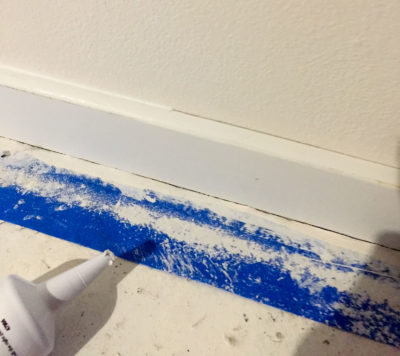 I was honestly thinking that caulking the nail holes and painting would be the last step, but the line between trim and wall just didn't look good. Luckily, caulking this joint was a very easy, high payoff route (even if I had to delay my final step while the caulking dried.) I had to find paintable caulk for these seams, but I think they look MUCH better than un-caulked.
Awesome!
very cool