It was bad news with my Miter Saw. I'd looked for a replacement for the piece that was broken, and found it to be discontinued. I'd tried fixing what I needed with Epoxy, but that snapped off. There was no substitute for having a single piece of cast-steel. I have a mini DIY project, thought that would require lots of 90 degree cuts. I realize a miter box is a pretty cheap thing to buy, but I was impatient and the nearest home depot is a solid bike ride away, so I decided to just make my own!
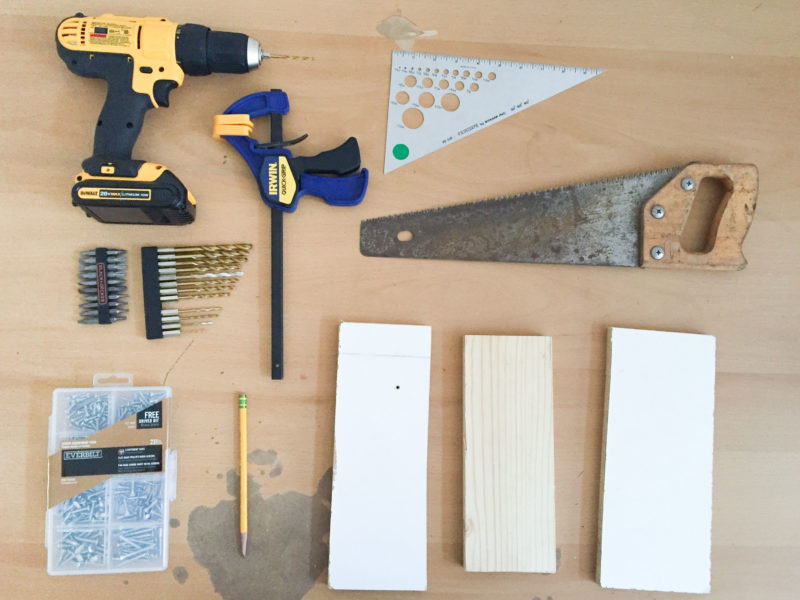
I gathered together 3 pieces of wood, a triangle with a reasonably good right angle, a hand saw, drill, and bits. I later realized I would for sure be using clamps (in abundance.) The first, and fairly simple step was to attach the pieces of wood together. All it toook was a quick zip-zap from the drill to drill and screw these guys together. During the process, I drew out the important part of the tool with the triangle, a target cutline at 90 degrees to the side rails.


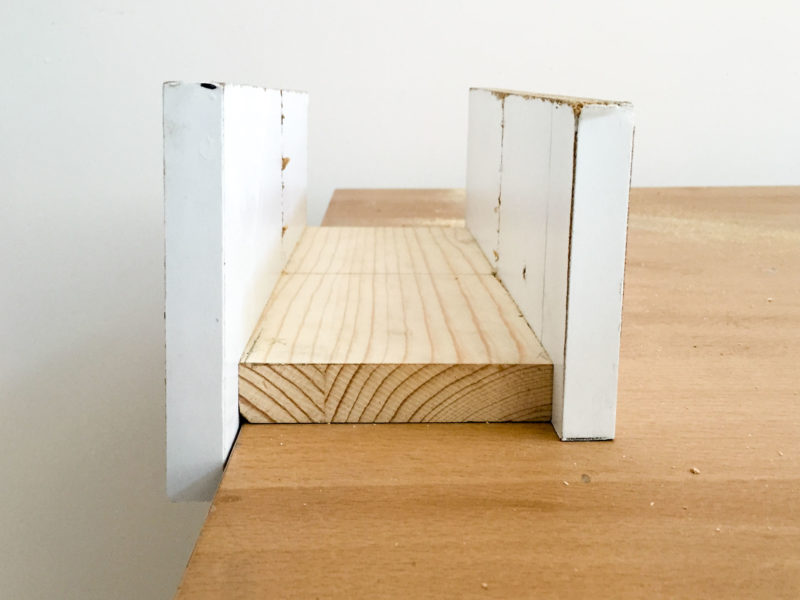
The miterboxes I'm used to have a rail hanging down on one side to allow it to be anchored on the edge of a working surface. With the box quickly screwed together, I took care to trace the 90 degree line all the way around to the outside surfaces. Since all I had was a hand saw, I was going to have to be as careful as possible to make the cut a right angle. When I got started, I clamped in place a fence to guide the saw.
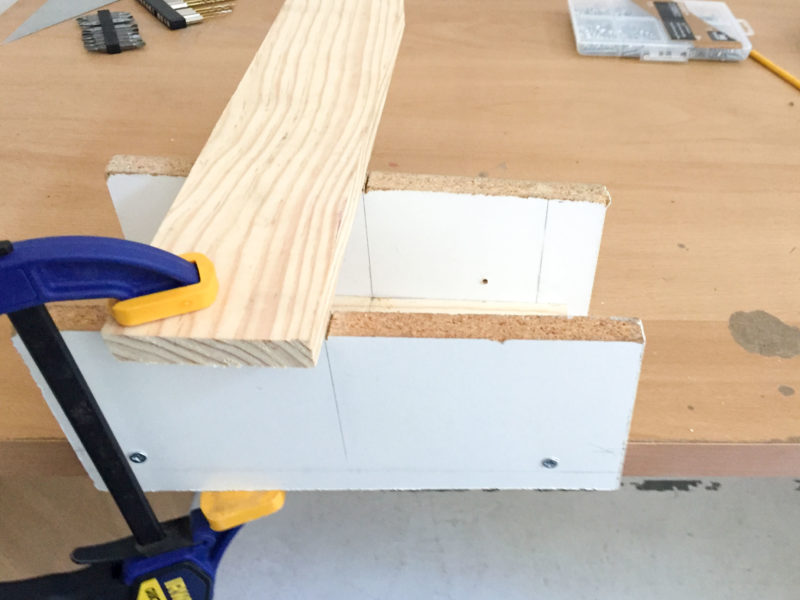
As soon as I had one clamp, I added a second, then a third. I learned that having everything stay in place is quite the luxury, and essential when making a careful cut. I left the fence in place and had to restart once, but I followed the line I'd drawn down on both sides of the box, stopping as soon as I hit the base. I've got another project right around the corner that puts this baby to the test. Fingers crossed that it's straight!