I had an idea for a chair that was supported on 2 criss-crossed pieces of wood. This X shape would match with the angle of the back rest and be tied together at the top with the armrest, creating structural bracing of the diagonal.
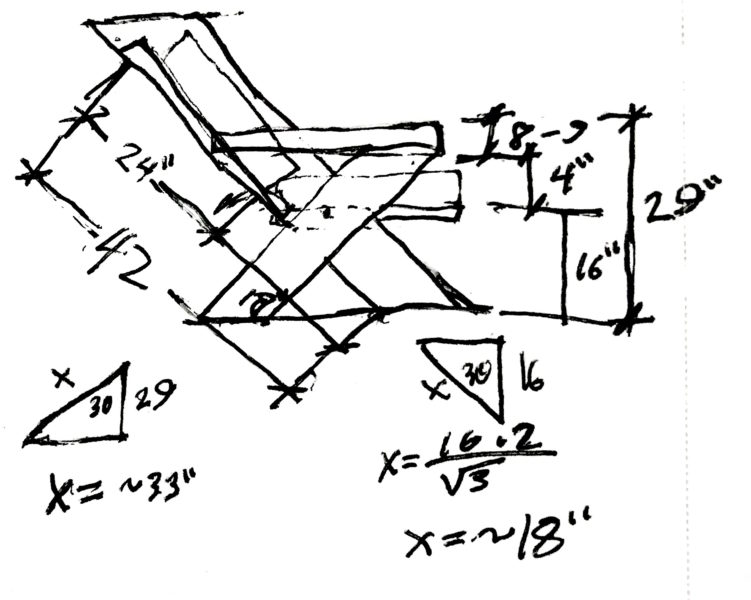
The sketch seemed about right, but I wasn't confident in the angles and dimensions I wanted for the seat and backrest. To firm up these angles, I decided to try mocking it up. At first, I grabbed whatever scraps were lying around to approximate the seat height, seat angle, backrest angle, and any other dimensions I could test. I pulled some chair pads off another chair I had and used them as a stand-in. With this slapped together mockup, the pieces weren't stable enough to set down the ideal angle. What's more, I could tell that having the right cushions was going to be a critical part of designing the chair. Luckily, I already had a source in mind for the final cushions, so I biked down to the local Ikea to pick some up.
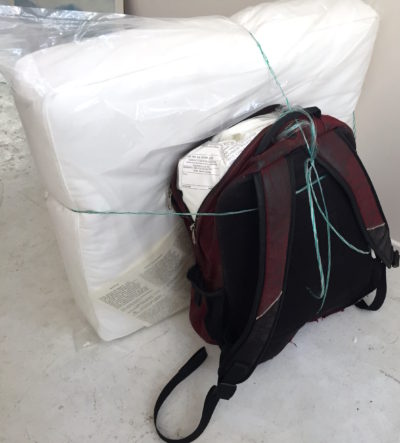 Notice how I said "biked..." I was unprepared for how much space the cushions would take up. While the backrest did fit inside my bag, there was no chance of fitting the seat (even if I brought the largest bag I own.) Not to be deterred, I tied it to the outside of my bag (much to the amusement of the folks in the loading zone.) I felt a little like a turtle, because I had a giant protective back, and because I was biking home VERY slowly.
 With the proper cushions now secure, I went about making a "proper" mockup. I wanted to be able to move and adjust the backrest angle, but still lean on it fully while testing. The final piece was basically 2 panels on a hinge with a brace at the corner and 2 rails that I could use to adjust the triangulated angle. I stacked this on some crates and would shim up or down if the seat needed adjusting. With that I was able to test it out.
I think the final angle was around 17 degrees from vertical, and the height was about 18" to the top of the cushion seat. The next step was refining the design digitally.